
Here's something I didn't know until I did it - scanning and piecing takes a ton of time. Add an extra day to your schedule for this process.
You'd think it (at the same settings) would fit together like a puzzle, but no. There're several inconsistencies that need to be adjusted.
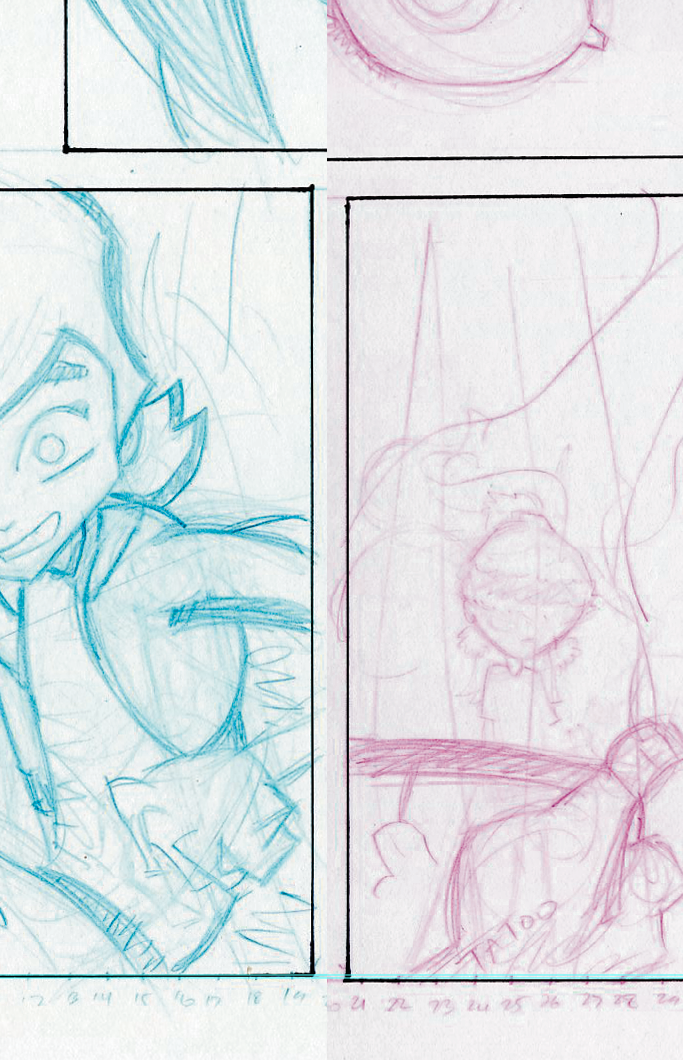
It's not hard - it's just time consuming and here's my way of doing it - terrible, embarrassing images and all. Note the misspelled "Tatoo" and the weird drawing of a floating kid in panel 4 that didn't erase well.
This is a page from AS03 that I've cut since the story changed. It's penciled - final scanned pieces are done in ink, but since I'm pitching this, it's still pencil.
I scan at 1200 dpi - 4 scans per page since the actual size is 15" x 10.5"

I place guides along the outside edge of the panels.
I put one on the inside, and one on the outside and the same line.

I do my best to line up all four corners to those guides. Nothing lines up correctly at this point - just the corners.

Because everything is off by a bit, I try to adjust each section as best I can. I use the transform tool (Command or Alt T) on each box and hold Command (Alt on a PC) while resizing it - this makes it so I can adjust only the corner I'm clicking.
After the borders are at an ok place, I try get the panels aligned too. It's not perfect but it's not terrible either.

Once the corners are lined up, I deal with the top two sections first. I get the very top lined up then mess with the image. I erase chunks from each section so there's not an obvious overlay. You can see here, I use half of Yoshi's face from each section. This case, it's easy cuz her eye is basically floating.

Sometimes I'll stagger the images to see if any erasing is even necessary. The black edge had to go along with much of that side since my scanner bends the image at the edge.

Here, I'm about to line up panels with the Transform tool. Just like Yoshi's floating eye, I can cut out whole panels from each section. It's great cuz there's no alignment of illustrations in doing so - just aligning the panels.
This is an example of the scanner curling the edge of the image up. I just delete that entire chunk. Since there's a clear separation of panels from the top half and the bottom half, it's easy to cut out those sections.

More guides and examples of using the Transform tool to adjust and align.
(aligned)

(not aligned)

Same Transform tool alignment here too.
(Not aligned)

(Aligned)

Even though the top sections made Yoshi's eyes usable, the bottom sections gave me the line at the bottom of her panel I liked more so I used it.

You can see the final panel uses parts from every section.

And the finished page. In an inked panel, I would now adjust the levels and apply threshold to make it 100% black and white. I colored each section so you could tell what I chose to erase, keep, adjust, align, etc. If this were black and white, it would be nearly impossible to tell - and also a little easier to do.

No comments:
Post a Comment